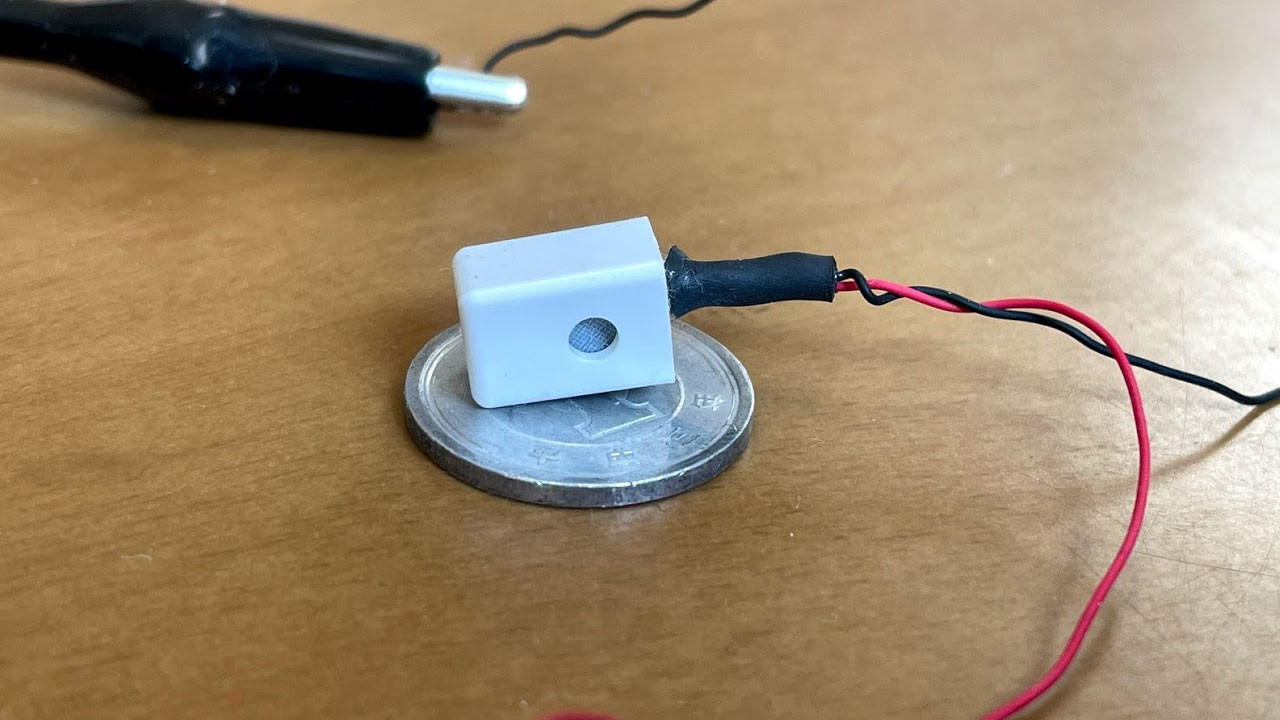
1円より縦横が小さいμPRISM(マイクロプリズム)。7つのセンサーを搭載した超小型IoTモジュールです。obnizと組み合わせて、ブラウザでセンサーの値を表示してみます。
ブラウザでセンサー値を確認

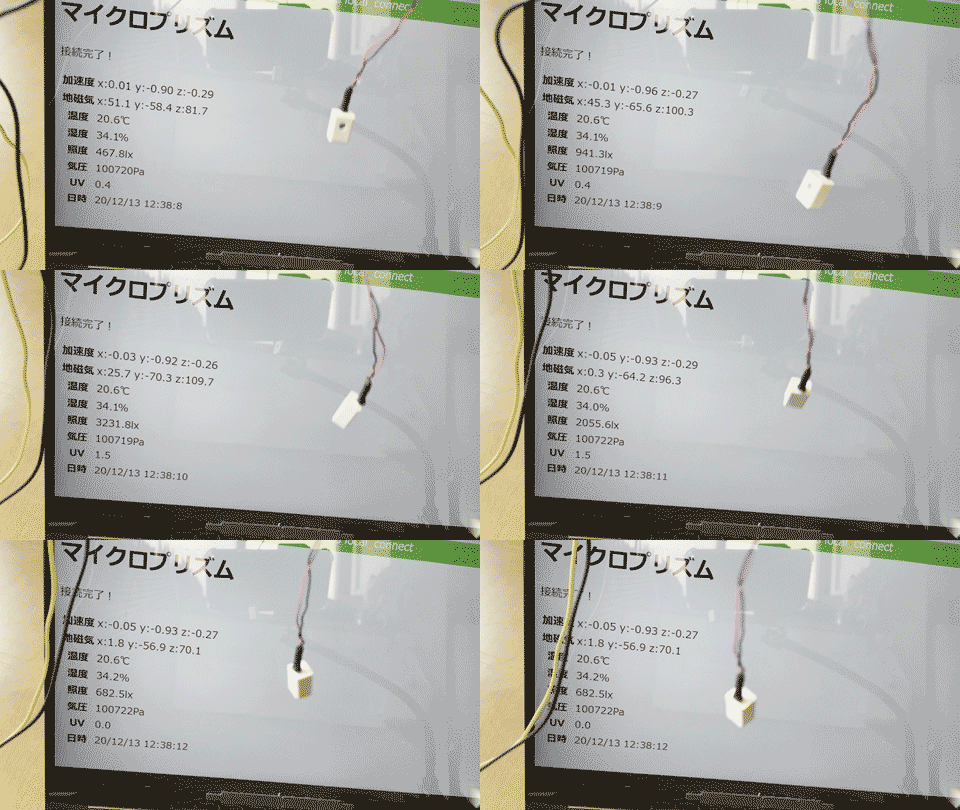
センサーの穴を回して、値の変化を見ます。
センサーの方向を変えてみると、地磁気が大きく変化し、窓の方向を向いたときは照度が高くなっています。
数値が多すぎると分かりにくいため、センサー値は四捨五入して表示してます。
※コードは最後に記述。
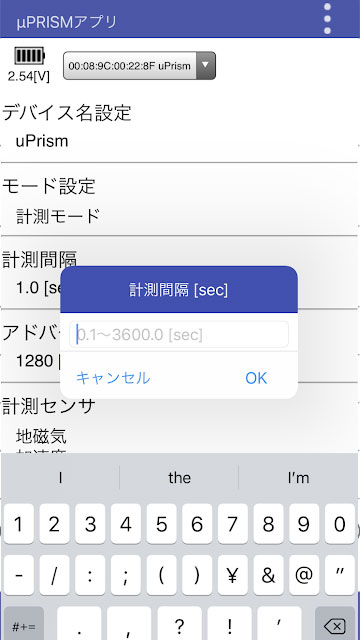
計測間隔はアプリで簡単に変更可能

μPRISMの専用アプリの設定を開くと、計測間隔を0.1秒から360秒の間で変更できます。
加速度、地磁気、照度、UVあたりは、計測間隔を短くして使うことがあると思います。
逆に温度、湿度、気圧は、計測間隔を長くして電池持ちを優先したほうが良いかもしれません。
マイコン・センサー構成

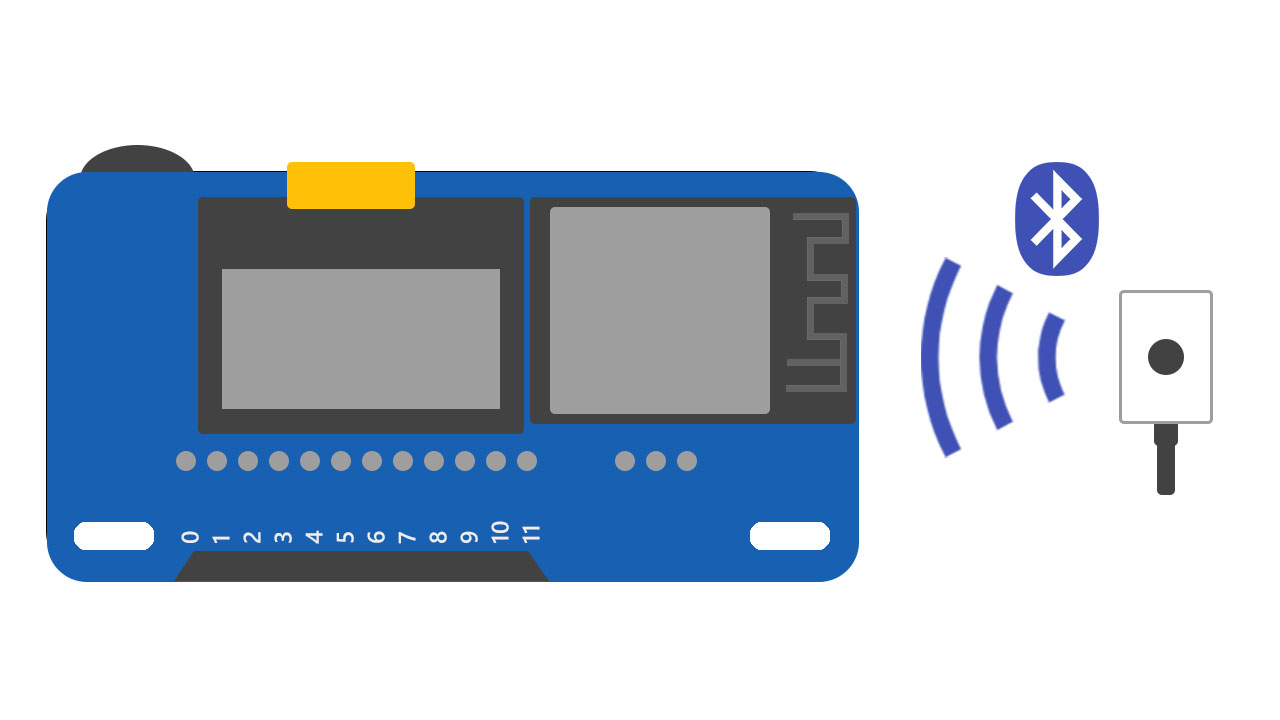
μPRISMのセンサー値を、BLEでobnizボードが受信します。
obnizボードもμPRISMも、電源につなぐ以外のことはしません。
受信内容サンプル
ブラウザに表示させたデータの1例です。
| 加速度 | x:-1.05 y:-0.14 z:0.01 |
|---|---|
| 地磁気 | x:48.9 y:-77.3 z:104.0 |
| 温度 | 21.2℃ |
| 湿度 | 34.0% |
| 照度 | 3085.6lx |
| 気圧 | 100756Pa |
| UV | 0.0 |
| 日時 | 20/12/13 12:21:37 |
分かる範囲ですが、正常に取得できているようです。
μPRISMブラウザ表示コード
obnizパーツライブラリに参考コードがあります。
これを元に、ブラウザ表示用のHTMLを作りました。
obniz.jsは、3.5.0以上でなければエラーが出るのでご注意ください。
|
1 2 3 4 5 6 7 8 9 10 11 12 13 14 15 16 17 18 19 20 21 22 23 24 25 26 27 28 29 30 31 32 33 34 35 36 37 38 39 40 41 42 43 44 45 46 47 48 49 50 51 52 53 54 55 56 57 58 59 60 61 62 63 64 65 66 67 68 69 70 71 72 73 74 75 76 77 78 79 80 81 82 |
<html> <head> <meta charset="utf-8"> <meta name="viewport" content="width=device-width, initial-scale=1"> <script src="https://obniz.io/js/jquery-3.2.1.min.js"></script> <script src="https://unpkg.com/obniz@3.11.0/obniz.js" crossorigin="anonymous"></script> </head> <body> <div id="obniz-debug"></div> <main> <h1>マイクロプリズム</h1> <p id="connect">接続中・・・</p> <table> <tr> <th>加速度</th> <td id="accel"></td> </tr> <tr> <th>地磁気</th> <td id="geo"></td> </tr> <tr> <th>温度</th> <td id="temp"></td> </tr> <tr> <th>湿度</th> <td id="humid"></td> </tr> <tr> <th>照度</th> <td id="light"></td> </tr> <tr> <th>気圧</th> <td id="pressure"></td> </tr> <tr> <th>UV</th> <td id="uvi"></td> </tr> <tr> <th>日時</th> <td id="date"></td> </tr> </table> </main> <script> var obniz = new Obniz("obniz-ID"), $connect = $("#connect"); obniz.onconnect = async () => { await obniz.ble.initWait(); const U_PRISM = Obniz.getPartsClass("uPRISM"); obniz.ble.scan.onfind = async (peripheral) => { if (U_PRISM.isDevice(peripheral)) { $connect.text("マイクロプリズム発見!"); const device = new U_PRISM(peripheral); device.ondisconnect = (reason) => { console.log(reason) } await device.connectWait(); $connect.text("接続完了!"); device.onNotify = (r) => { $("#accel").text("x:" + r.acceleration.x.toFixed(2) + " y:" + r.acceleration.y.toFixed(2) + " z:" + r.acceleration.z.toFixed(2)); $("#geo").text("x:" + r.geomagnetic.x.toFixed(1) + " y:" + r.geomagnetic.y.toFixed(1) + " z:" + r.geomagnetic.z.toFixed(1)); $("#temp").text(r.temperature.toFixed(1) + "℃"); $("#humid").text(r.humidity.toFixed(1) + "%"); $("#light").text(r.ambient_light.toFixed(1) + "lx"); $("#pressure").text(r.pressure + "Pa"); $("#uvi").text(r.uvi.toFixed(1)); $("#date").text(`${r.time.year}/${r.time.month}/${r.time.day} ${r.time.hour}:${r.time.minute}:${r.time.second}`); }; device.startNotifyWait(); } }; await obniz.ble.scan.startWait(); } </script> </body> </html> |
obnizがまさかのμPRISM対応
obnizボードとμPRISMを両方持っている人は少ないと思います。
obnizのパーツライブラリにμPRISMが掲載されたときは、テンションが上がりました。
ウェアラブルの試作で、小ささと省電力が必要で、さらにWebの技術を中心に開発したいときには、この組み合わせが良い選択肢だと思います。
