前回、Node.jsでLチカを実現しました。
Node.js→Arduinoがうまくいけば、ブラウザ(HTML)→Node.jsは、何とかなるような気がします。
Node.js+Express+socket.io
Node.jsを使うとき、無理せずフレームワークのExpressをセットで使います。
そして、サーバーとクライアントの双方向リアルタイム通信を実現したいときは、socket.ioモジュールを使わせて頂きます。
いきなりArduinoでNode.jsを導入より、定番のリアルタイムチャット開発を通じてNode.jsを学んだ方が、理解しやすかもしれません。
ディレクトリ構成
前回からの続きで、Cドライブ直下の「node-arduino」というディレクトリ内で開発を進めます。
|
1 2 3 4 5 6 7 |
c: └ node-arduino └ <strong>htdocs</strong> │ └ <strong>index.html</strong> ├ node_modules ├ app.js └ package.json |
「htdocs」というディレクトリを新たに作り、index.htmlを作ります。
ブラウザ側のスイッチを作る
index.htmlは、ブラウザでLEDの点灯を制御する画面です。
ブラウザに表示されるスイッチを押すと、ArduinoにつながれたLEDが光ります。
<!doctype html>
<html>
<head>
<meta charset="utf-8">
<title>Arduinoをブラウザ操作</title>
<script src="/socket.io/socket.io.js"></script>
<script src="//ajax.googleapis.com/ajax/libs/jquery/3.2.1/jquery.min.js"></script>
<style>
 body {
  padding-top: 500px;
  background: #000;
  text-align: center;
 }
 button {
  padding: 20px 40px;
  border-bottom: #999 solid 20px;
  border-radius: 15px;
  background: #EEE;
  font-size: 100px;
 }
 button.on {
  margin-top: 15px;
  border-bottom: #095E13 solid 5px;
  background: #3C9053;
  color: #FFF;
 }
</style>
</head>
<body>
<button id="ledBtn">LED点灯</button>
<script type="text/javascript">
 var socket = io(),
 $ledBtn = $("#ledBtn"),
 ledSwitch = false,
 SWITCH_CLASS = "on";

 $ledBtn.on("click", function(){
  if(ledSwitch === false){
   ledSwitch = true;
   $(this).addClass(SWITCH_CLASS);
  }else{
   ledSwitch = false;
   $(this).removeClass(SWITCH_CLASS);
  }
  socket.emit('led', ledSwitch);
 });
</script>
</body>
</html>
LEDが点灯中は、ブラウザ上のスイッチも緑色になります。
サーバー側のスクリプトを書く
サーバ―側のapp.jsでは、サーバーの起動および、ブラウザからの命令を受け取り、Arduinoに命令を出すためのコードを書きます。
var express = require('express'),
 app = express(),
 http = require('http').Server(app),
 port = 3000,
 io = require('socket.io')(http),
 five = require("johnny-five"),
 board = new five.Board(),
 led,

server = function(){
 app.use(express.static('htdocs'));
 http.listen(port,function(){
  console.log("Expressサーバーがポート%dで起動しました。モード:%s",port,app.settings.env);
 });
};

board.on("ready", function() {
 server();
 led = new five.Led(13),
 io.on('connection', function(socket) {
  socket.on('led', function(data) {
   if (data === true) {
    led.on();
   } else {
    led.off();
   }
  });
 });
});
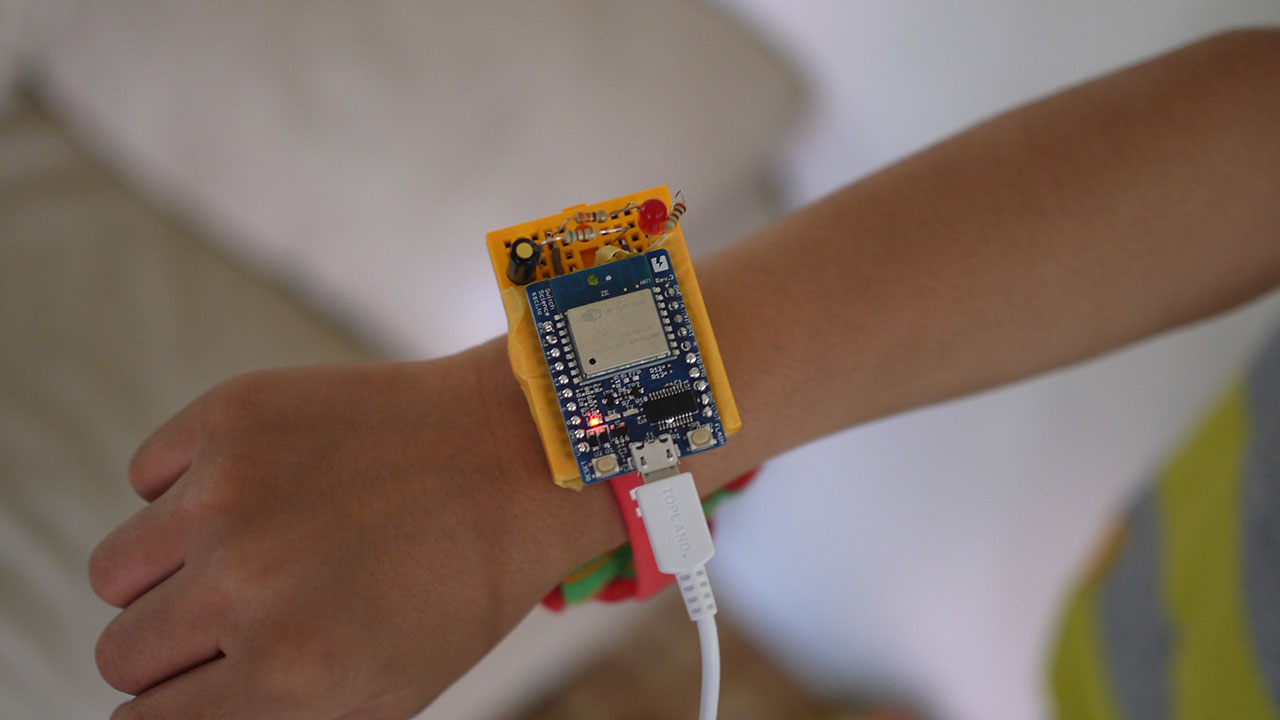
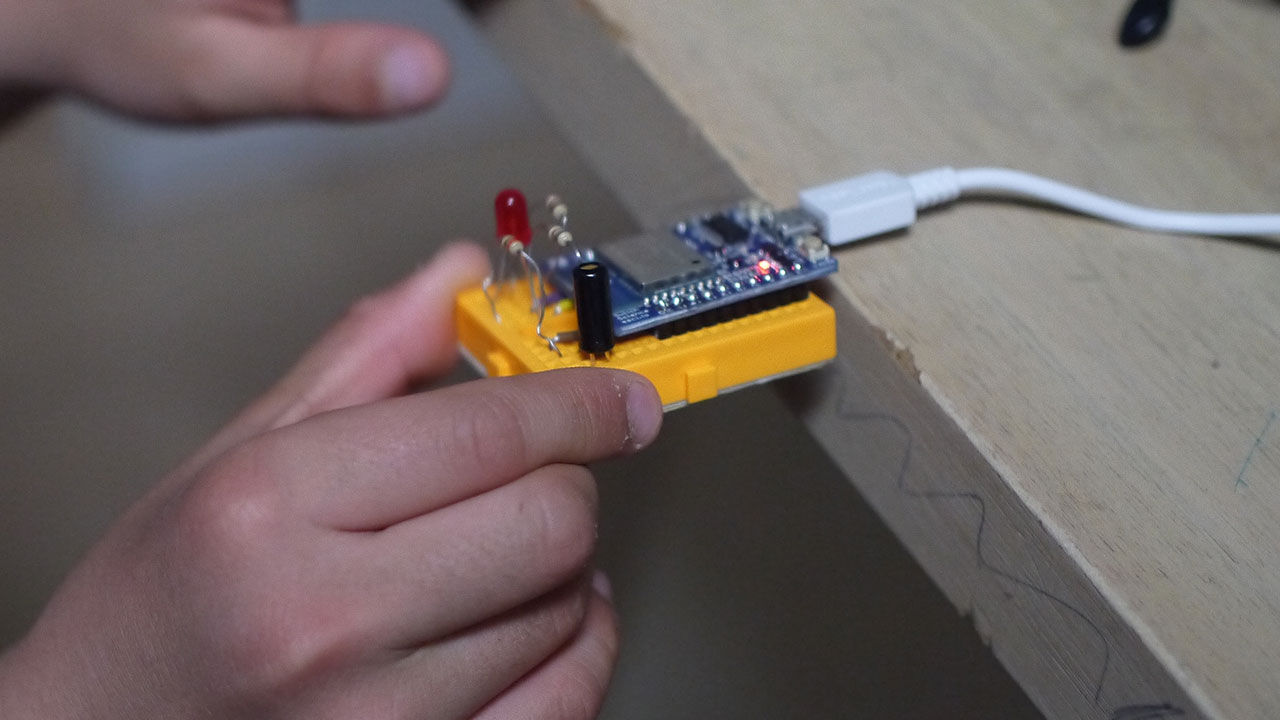
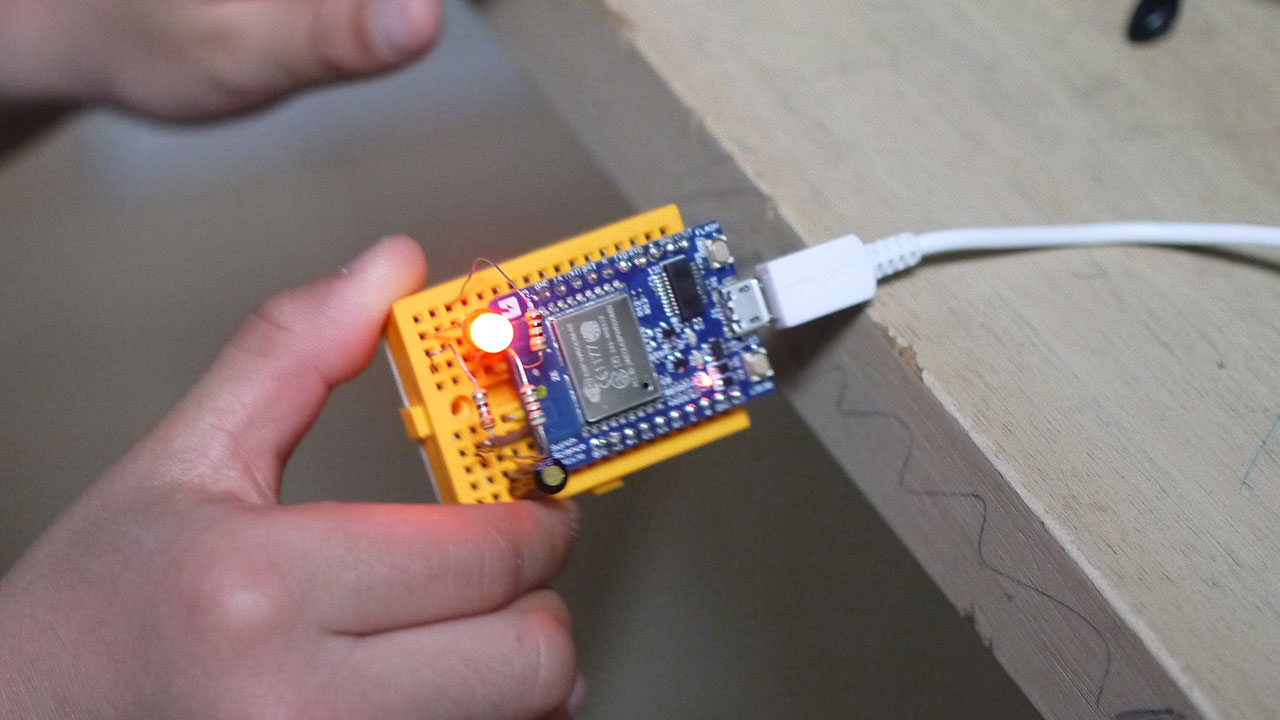
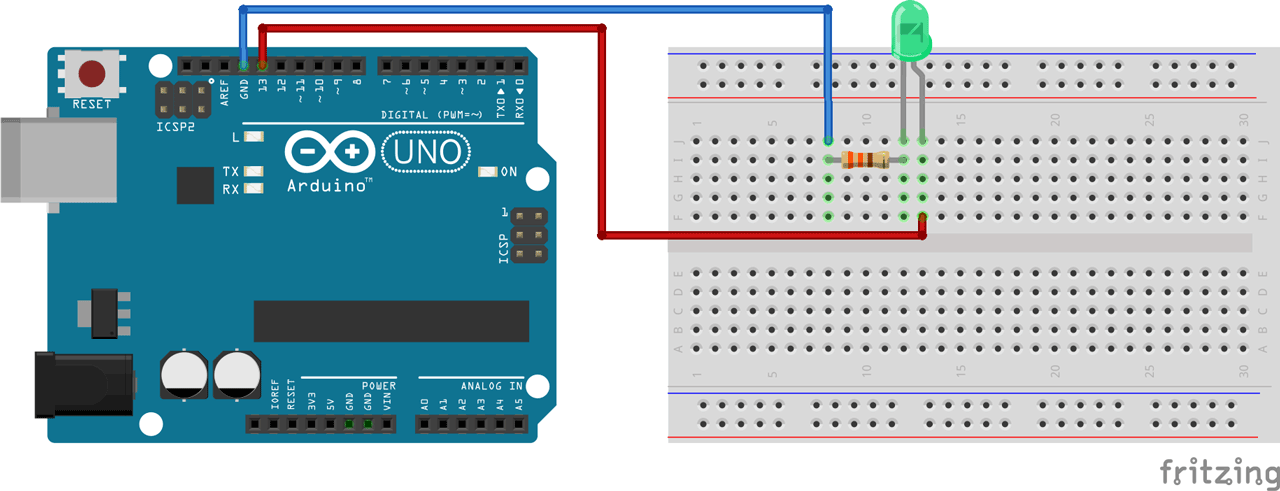
前回の再掲載となりますが、回路は13番にLEDがつながっている単純な構成です。
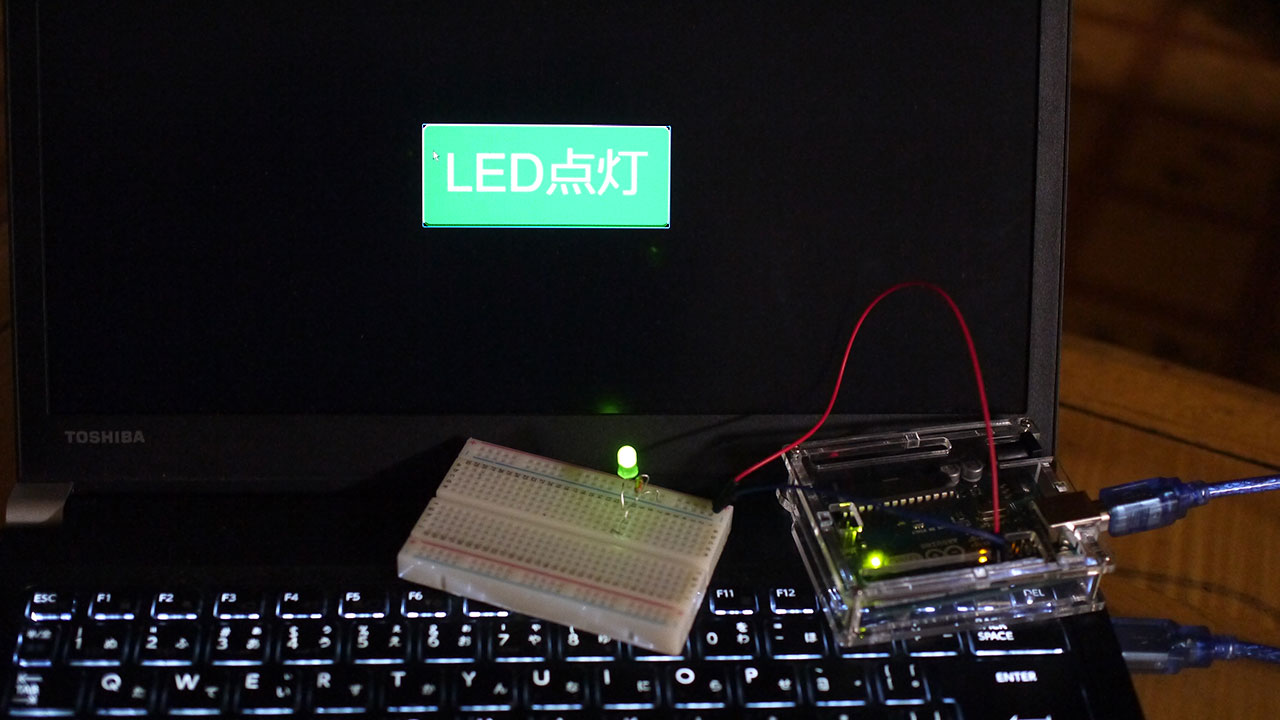
LEDをブラウザから点灯!
準備が整いました。
コマンドプロントの「node app.js」で、サーバーを起動します。
ブラウザのアドレスバーに「http://localhost:3000/」と打ち、index.htmlを表示させます。
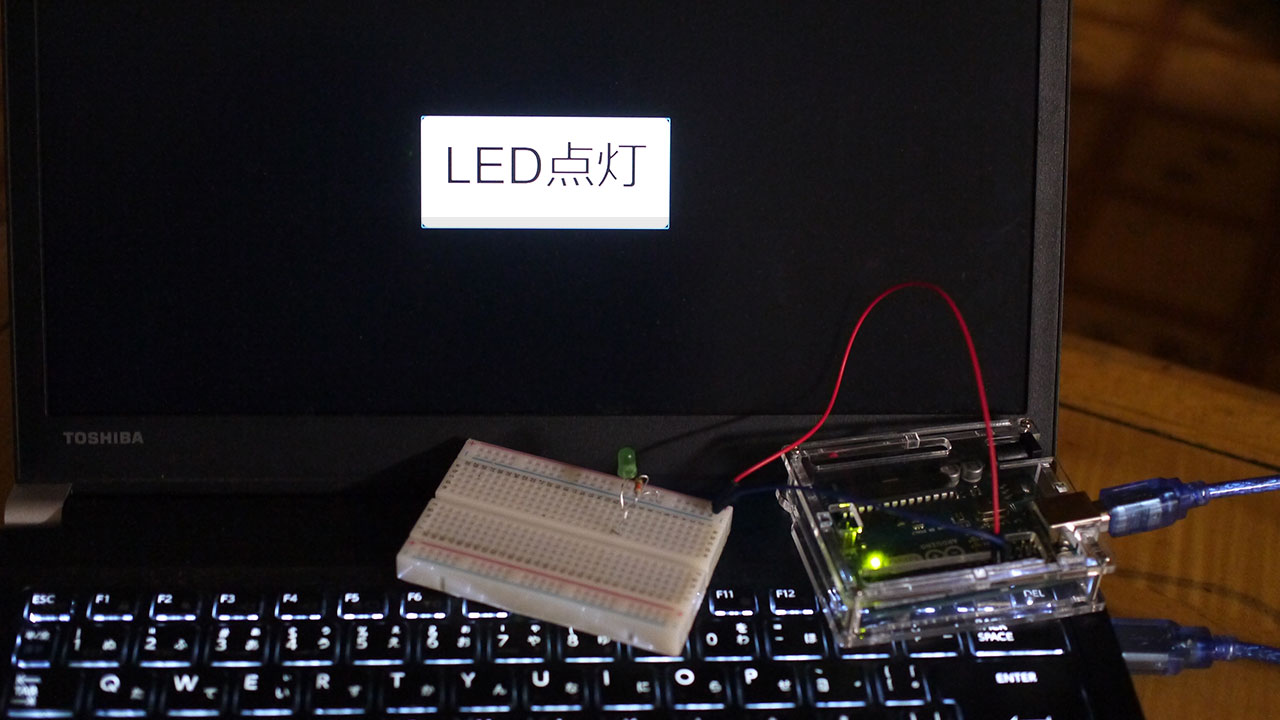
LED点灯ボタンが出てきます。
ボタンをクリック!
ブラウザのボタンも緑、LEDも緑に点灯しました。
すばらしい連動性です。
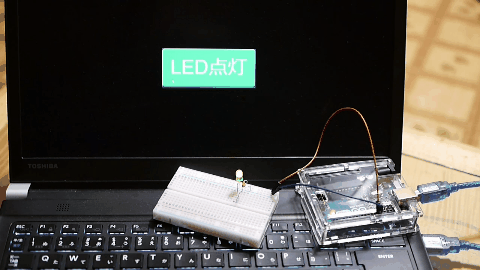
GIFアニメも掲載します。
これくらいのことだと、socket.ioが必要なかった気がしますが・・・次回はもっと双方向な構築で、socket.ioも活躍します。